Staff Shift & Branch Manager
The Staff Shift and Branch Manager features work together to help you manage your beauty salon business across multiple locations and keep track of your staff's work schedules.
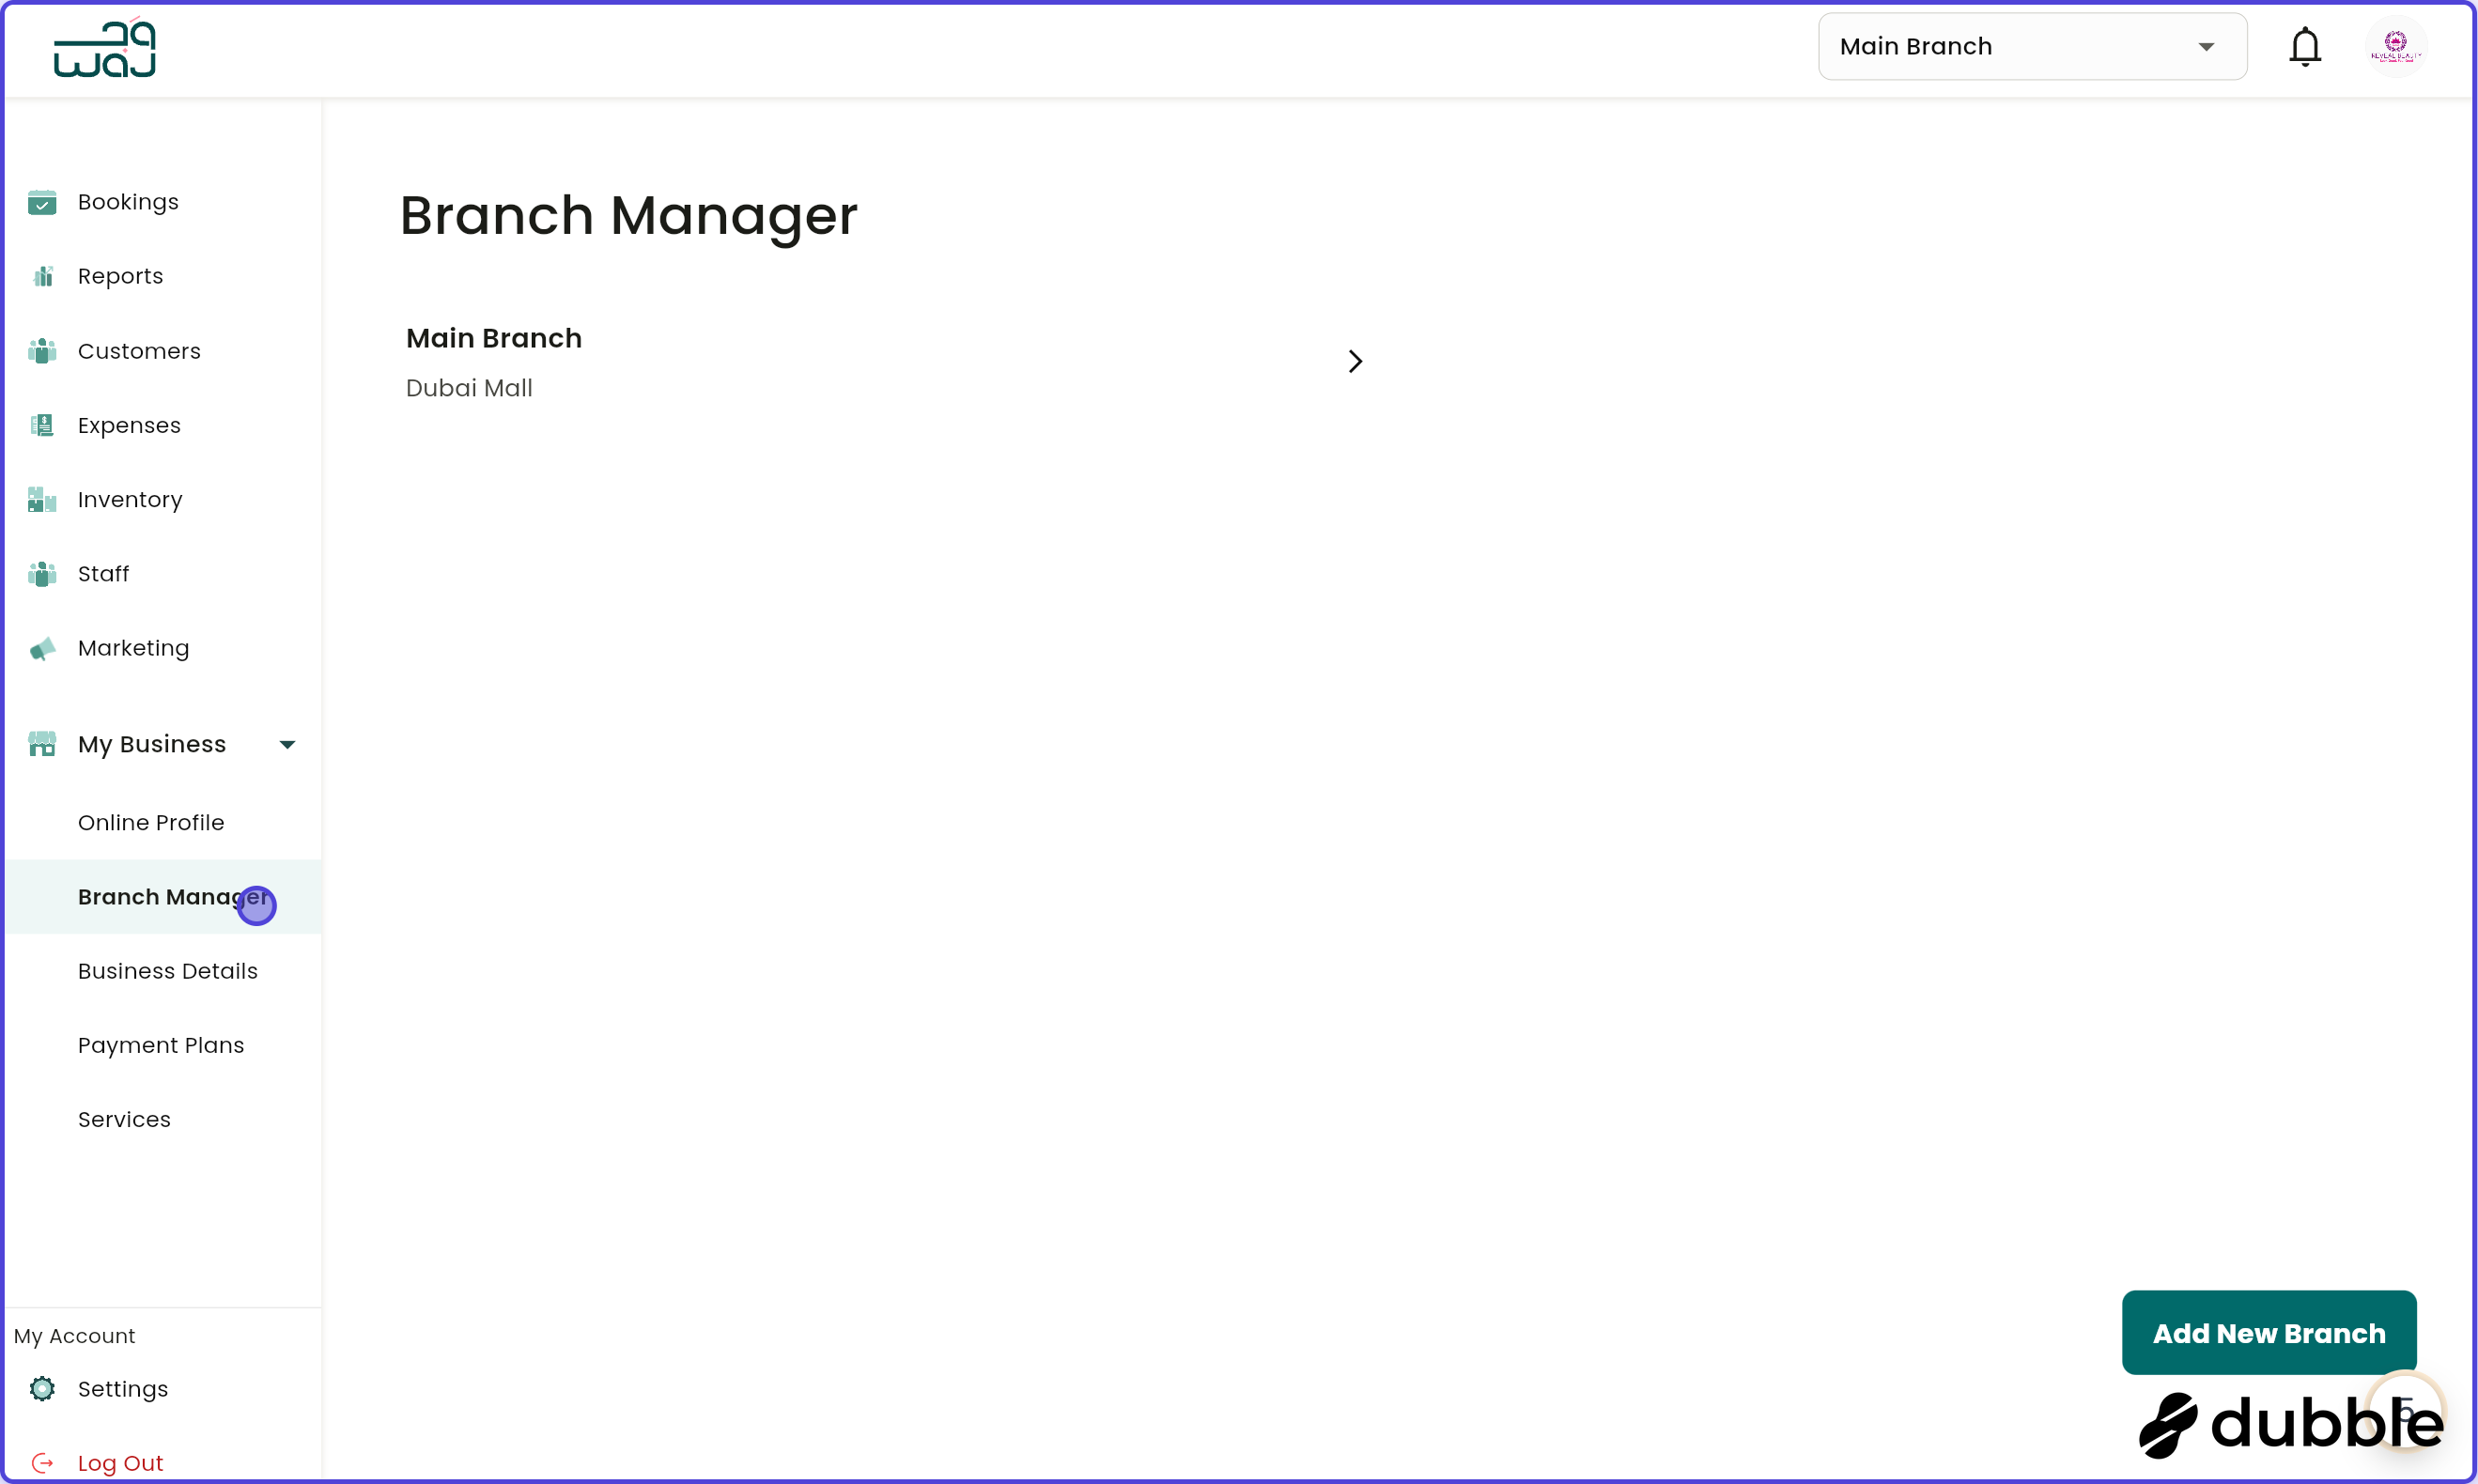
Select a topic from the sidebar to get started.
Add New Branch


Adding new branches enables management to seamlessly set up additional business locations within the WAJ system. This feature is essential for growing businesses looking to expand their business and streamline the operations of each new location.
For instance, when a salon opens a new branch, management can use this feature to input the branch’s address, hours of operation, staff, services, and contact information, making it immediately accessible for online bookings. Each branch can have unique details tailored to its local clientele, while still being part of the overall salon network. The "Add New Branch" feature allows for easy expansion, improves client access, and helps maintain consistent branding and quality across all locations, supporting a smooth growth process for the business.
1. Click on "Add New Branch"2. Fill in the detailsFill in the details of the new branch including the opening hours and the services provided by the new branch.
3. Click on "Save"Save the details, and the new branch is created.
Manage Branch


Managing branches provides centralized control over multiple business locations, enabling management to oversee and customize each branch’s unique detail. This includes setting branch-specific hours, services, and staff, ensuring each location meets local client needs while maintaining the salon brand’s consistency.
1. Click on the branchClick on the branch to view branch details.
2. Branch detailsThe branch details can be vied here including the branch's opening hours as well as the services provided by the branch.
3. Click on "Edit Branch"Click on edit branch to edit branch details.
4. Edit BranchAll branch details can be edited here including opening hours as well as available services.
5. Delete BranchBranches can be deleted by clicking on "Delete Branch".
1. Setting Up Recurring Weekly Schedule
Purpose: Set a staff member's regular work hours for each day of the week.
Steps:
Navigate to Staff Management
Select a staff member
Tap Shift Management
Select the Scheduled Shifts tab
For each day (Monday through Sunday):
Toggle the day ON/OFF: Click the circle icon next to the day name to enable/disable shifts
Add shifts: Click the + icon to add a shift time
Edit shifts: Click on a shift to modify start/end times
Remove shifts: Click the × icon next to a shift
Tap Save Changes to apply
Tips:
Click the refresh icon (🔄) next to "Match Opening Hours" to automatically set shifts based on your branch's operating hours
You can add multiple shifts per day (e.g., morning and evening shifts)
Disabled days (greyed out) mean the staff member has no scheduled shifts that day
2. Viewing Monthly Shift Calendar
Purpose: See a monthly overview of all scheduled shifts, including custom overrides.
Steps:
In Shift Management, select the Monthly View tab
The calendar shows:
Blue: Regular scheduled shifts
Green: Custom shifts (one-time changes)
Grey: Days off (00:00 - 00:00)
Navigate months using the left/right arrows
Tap any day to view or edit its shifts
What You See:
Each day shows up to 3 shift times
Today is highlighted with a "Today" label
Shift times display in 12-hour format (e.g., "09:00 AM - 05:00 PM")
Empty days show "OFF"
3. Creating a Custom Shift
Purpose: Override the regular schedule for a specific date (e.g., special event, holiday, employee request).
Steps:
In Monthly View, tap the day you want to modify
Tap the + Add Shift button
Set the Start Time by tapping the time field
Set the End Time by tapping the time field
Tap Save
Notes:
Custom shifts appear in green to distinguish them from regular shifts
You can delete a custom shift by tapping the trash icon (🗑️)
Custom shifts override the regular schedule for that day only
4. Editing a Shift
Purpose: Modify shift times for a specific day.
Steps:
In Monthly View, tap the day with the shift
Tap the ✎ Edit Shift button
Update the start or end time by tapping the time fields
Tap Save
Note: If you edit a regular (blue) shift, it will be converted to a custom (green) shift.
5. Marking a Day Off
Purpose: Indicate that a staff member is not working on a specific day.
Steps:
In Monthly View, tap the day
Tap the X Make Off button
This creates a shift from 00:00 to 00:00
The day will show "OFF" in grey
6. Viewing Staff Attendance Logs
Purpose: See when staff have clocked in/out and their shift status.
Steps:
In Shift Management, select the Shift Logs tab
Use the date range selectors to filter by time period
View the list showing:
Shift date
Expected start/end times
Actual login/logout times (if available)
Shift status (see Status Indicators below)
Status Indicators:
Logged In: Staff has clocked in but not out
Done: Staff has completed their shift (logged out)
No Show: Staff did not show up for their scheduled shift
Pending: Shift scheduled but not yet started
7. Clocking Staff In/Out
Purpose: Record actual attendance times for payroll and tracking.
Steps:
This is typically done from a different screen (check with your system administrator)
Clock In: Records the time staff arrived
Clock Out: Records the time staff left
Mark No Show: Used when staff don't arrive for their scheduled shift
# Branch Manager Feature